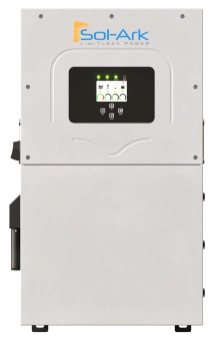
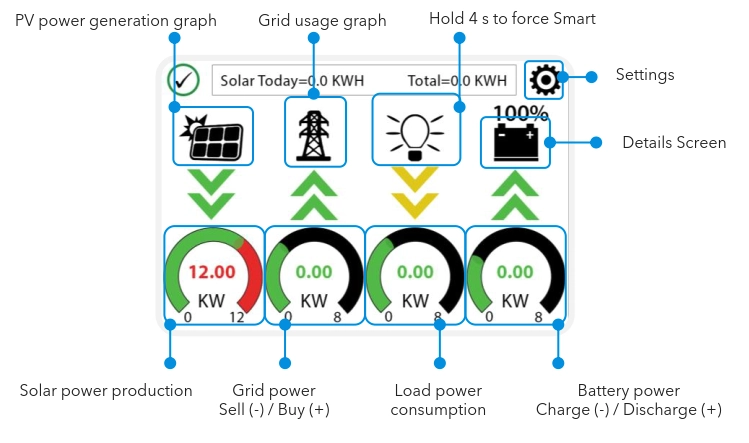
1. Click the settings icon.
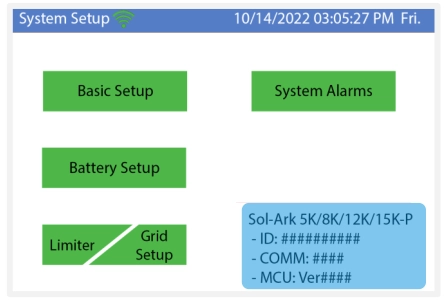
2. Click the Battery Setup icon.
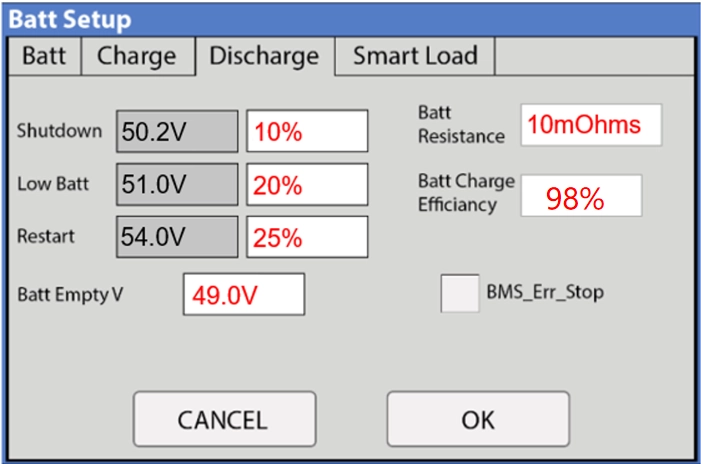
3. Click the Discharge. And set the value at the position as shown below.
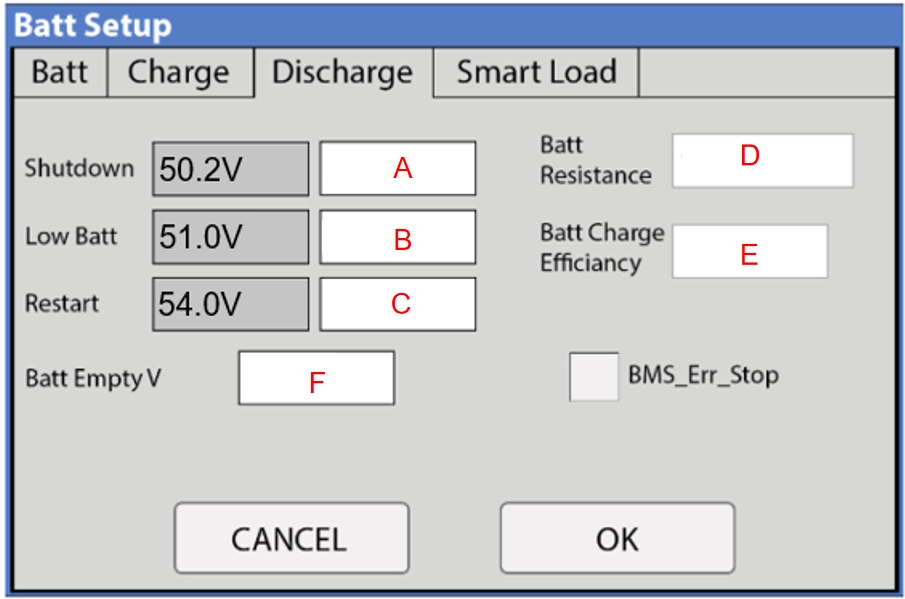
Discharge setting
A. Shutdown: 10%
B. Low Batt: 20%
C. Restart: 25%
D. Batt Resistance: 10mOhms
E. Batt Charge Efficiancy: 98.0%
4. After completing the settings, click "OK" to save.
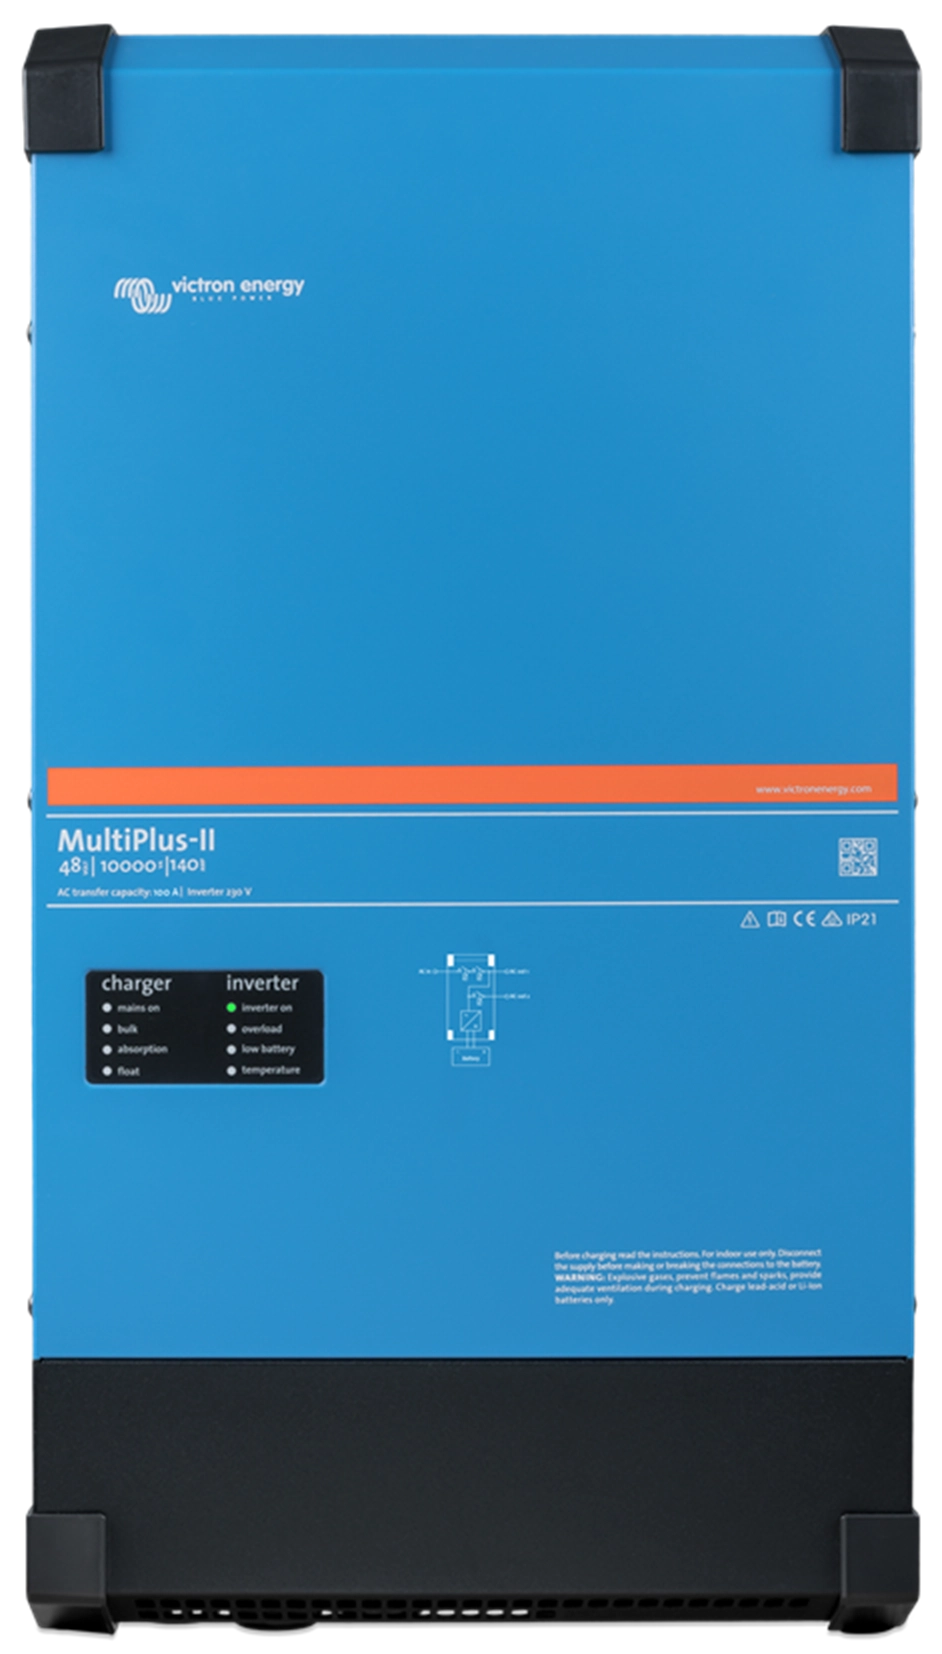
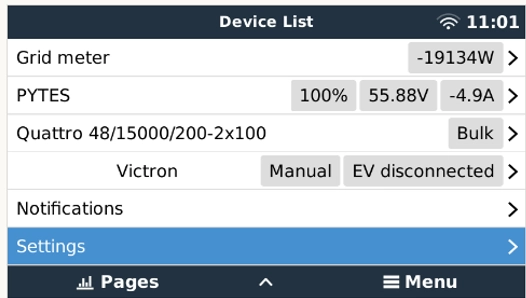
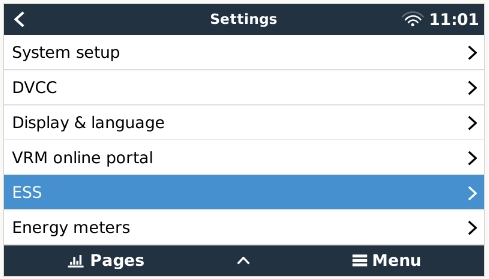
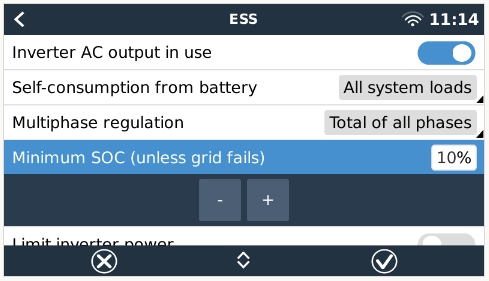
Minimum SOC need to be set up in the VRM system or Cerbo GX. The setup steps are as follows.
1. Click enter ,into menu page.
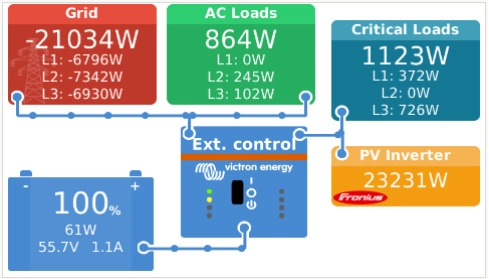
2. Click Setting.
3. Click ESS.
4. Click Minimum SOC, set it to 10%,and save.
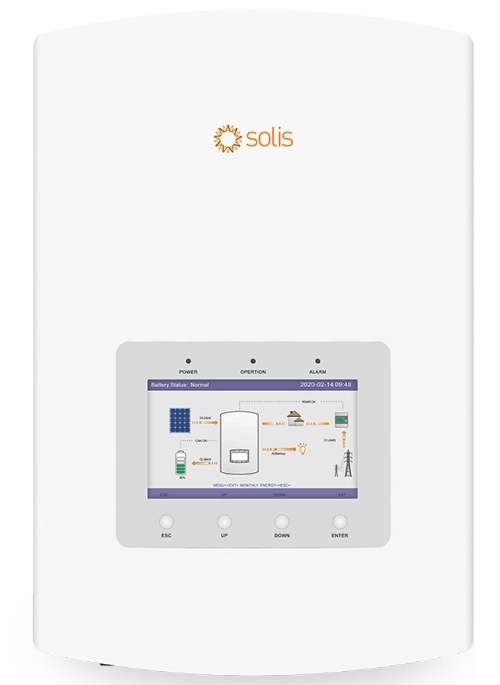
There are two ways to set Minimum SOC, one is set on inverter screen, the other is set on phone. For models like S5, RHI, etc., which have an operation panel, you can set it directly on the inverter screen. For the new S6 models with Wifi module, you can set it by the mobile app.
Set on the inverter screen.
1. After Battery Select, there are two parameters need to be defined in next page.
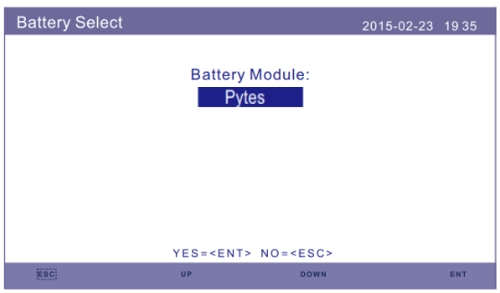
* OverDischg SOC (10%~40%, default 20%)
--Inverter will not discharge the battery when the OverDischg SOC is reached.
Battery self-discharge is unavoidable,SOC may go lower than the limit if the battery can't get charged for a long period of time.
* ForceCharge SOC (5%~OverDischg SOC, default 10%)
--To prevent the battery going into sleep mode, when the ForceCharge SOC is reached, inverter will charge the battery using the power from either PV or Grid.
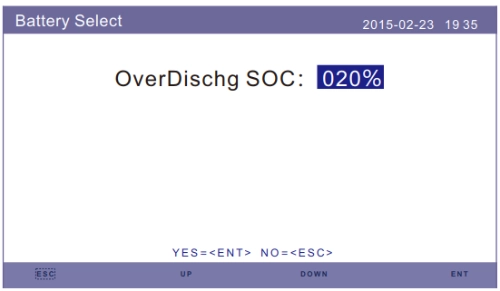
2. Set OverDischg SOC to 20%.
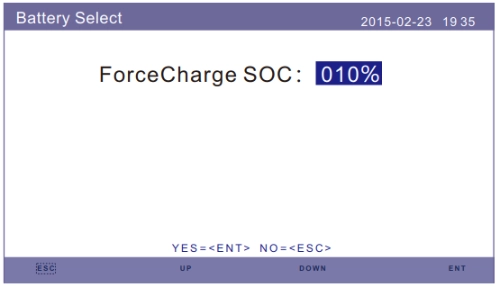
3. Set ForceCharge SOC to 10%, and saved.
Set on the SolisCloud APP.
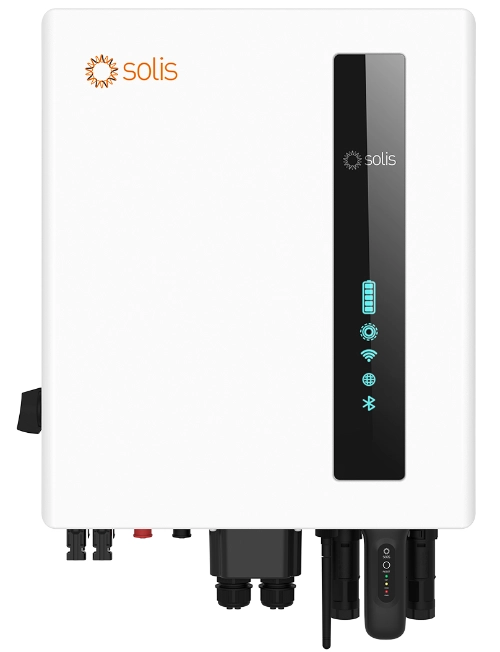
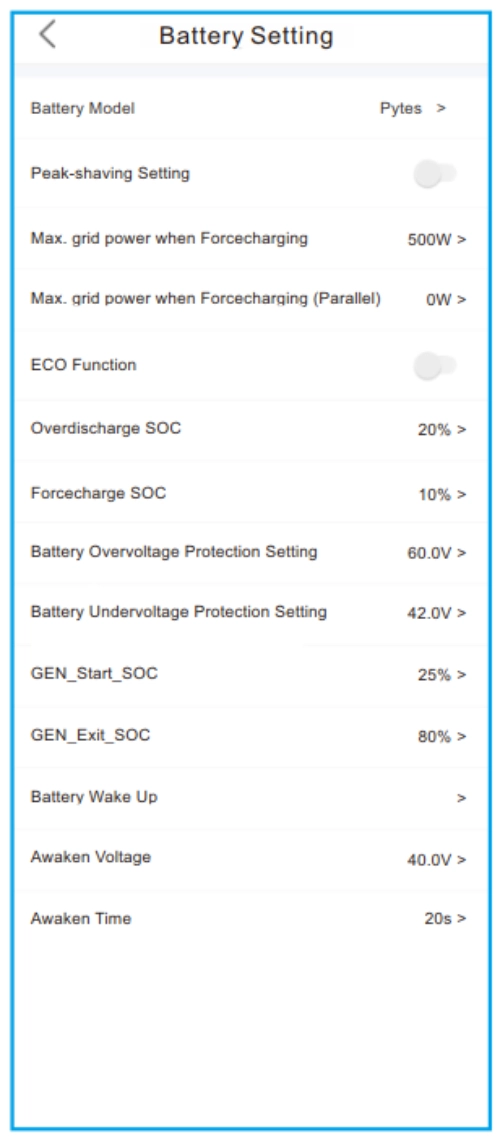
1.After Battery type Select to Pytes , ForceCharge SOC and OverDischg SOC can be defined in battery setting.
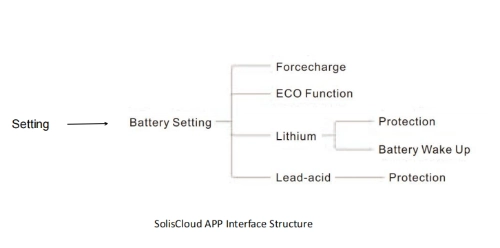
2. In battery setting interface ,set OverDischg SOC to 20% ,set ForceCharge SOC to 10%,and save.
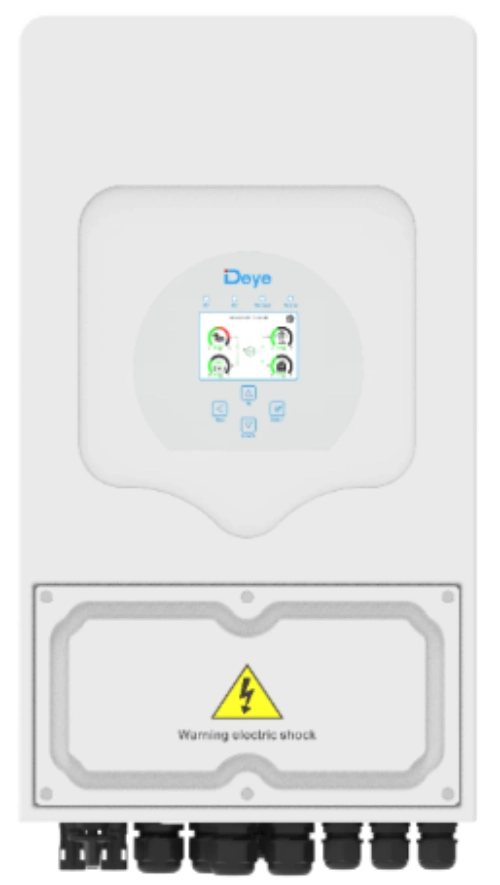
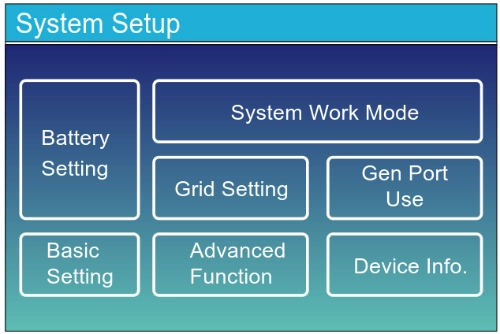
1. Click the setting icon.
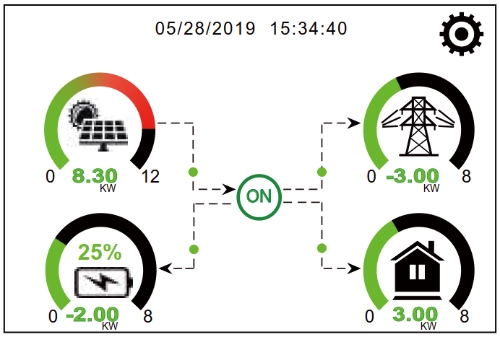
2. Click the battery setting.
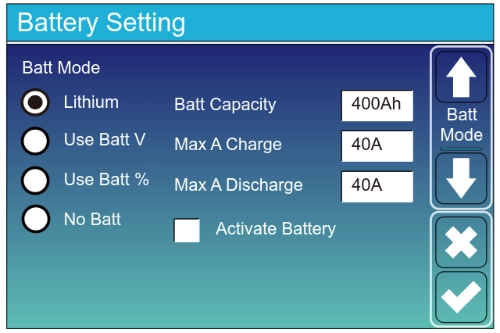
3. Select the Lithium.
4. Turn to the second page, set Shutdown to 10%,set Low Batt to 20%.Then save.
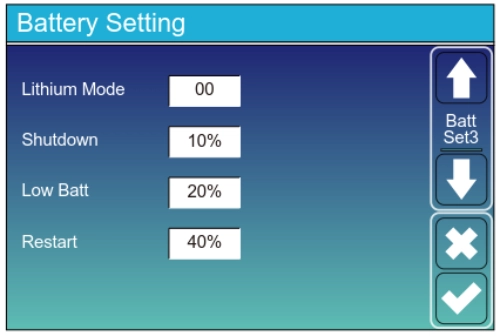
Shutdown 10%: It indicates the inverter will shutdown if the SOC below this value.
Low Batt 20%: It indicates the inverter will alarm if the SOC below this value.
Restart 40%: Battery voltage at 40% AC output will resume.
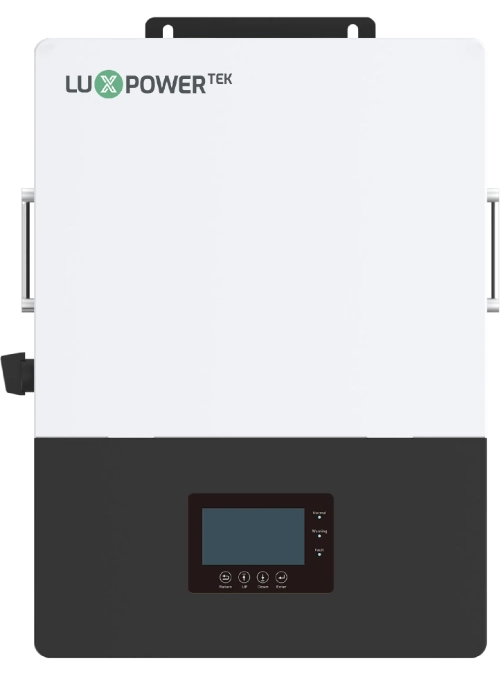
1. Click the setting icon.
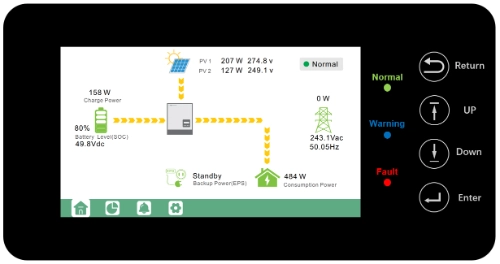
2. Click the discharge,and set Stop discharge SOC to 10%, save.
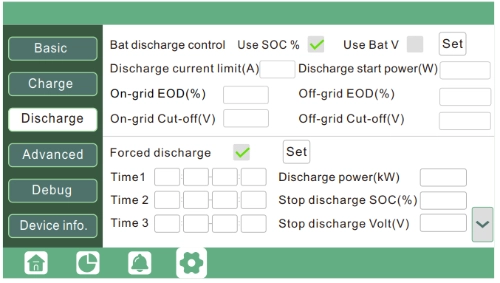
Settings for battery force discharge within certain time period. In the preset time period, the inverter will discharge battery at the power set by “discharge power”, until battery SOC or voltage reaches “Stop discharge ”value.
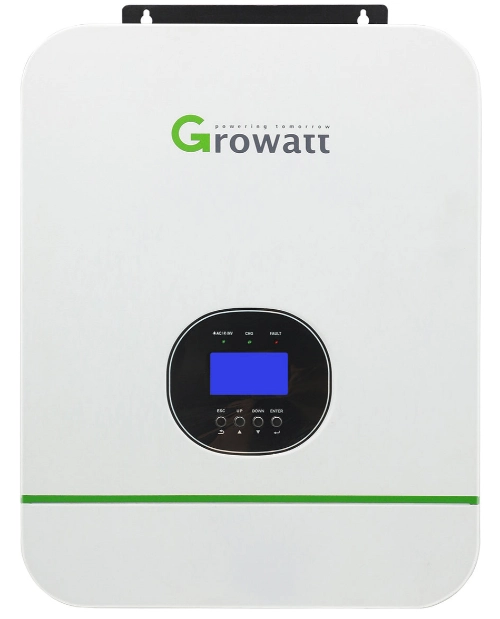
1. After program 05 select Li,and protocol select to L51, there is SOC can be set in program 21.
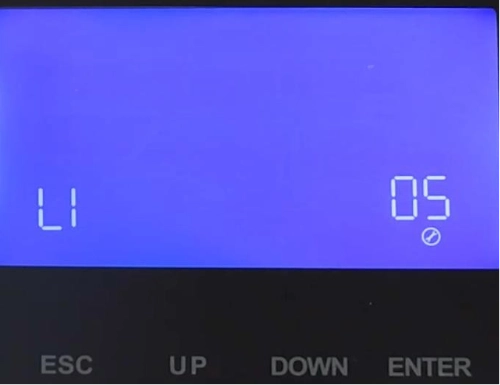
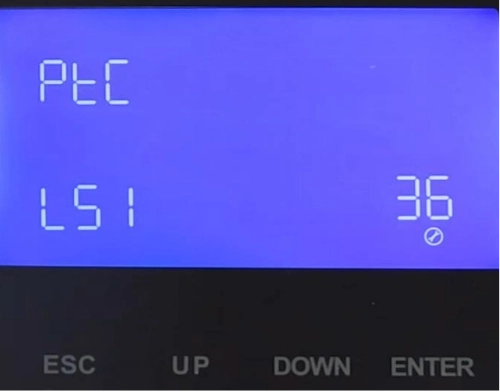
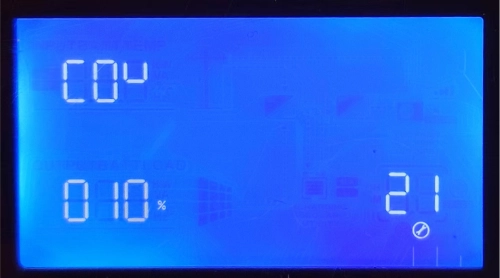
2. Turn to program 21,set Min soc to 10%, and save.

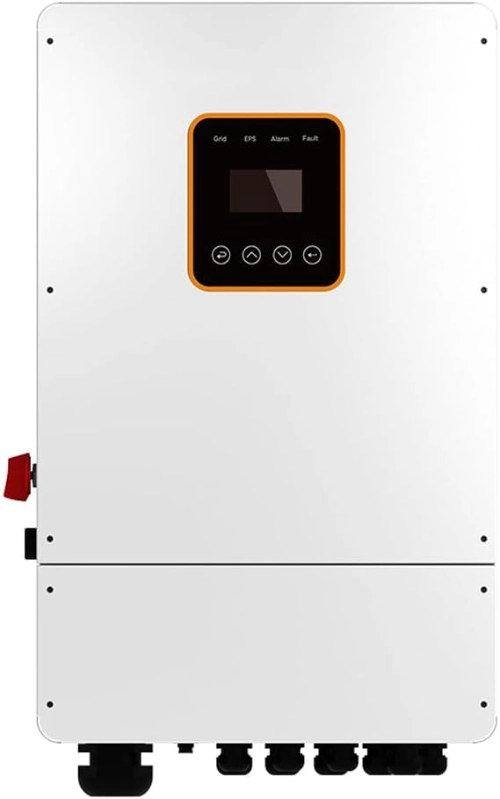
After BAT TYPE set to Lithium, DISC-DEPTH can be set to 90%.

1. Enter password 00000,select BAT TYPE to Lithium.

2. Enter to DISC-DEPTH interface,set Grid DOD to 90%,set OFF Grid DOD to 90%.
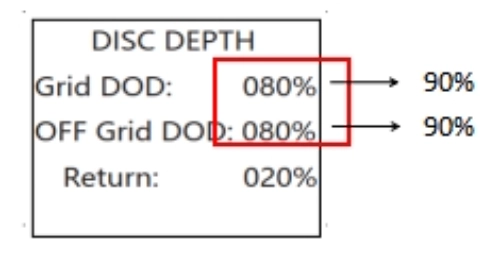
Grid DOD/ OFF Grid DOD: When the battery discharge is higher than the set parameter, the inverter generates a battery low voltage alarm.
Return: When a low-voltage alarm is generated, the alarm is cleared if the battery charge is higher than the specified amount.
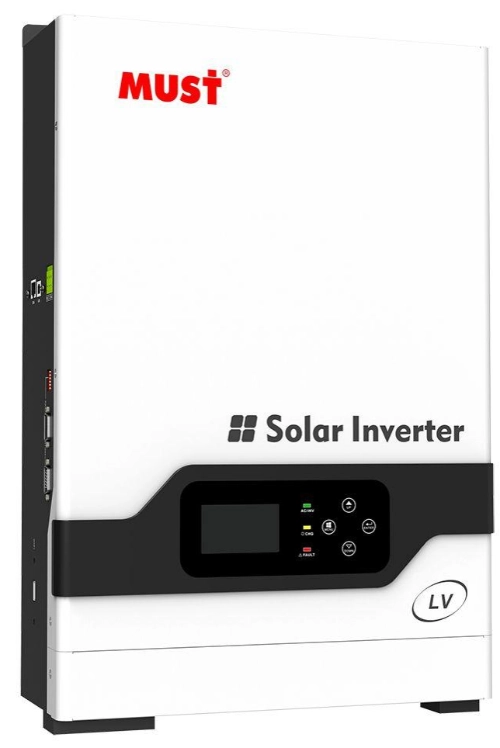
1. After the inverter and battery communicated successfully, turn to program 38 ,set stop discharge SOC to 10%

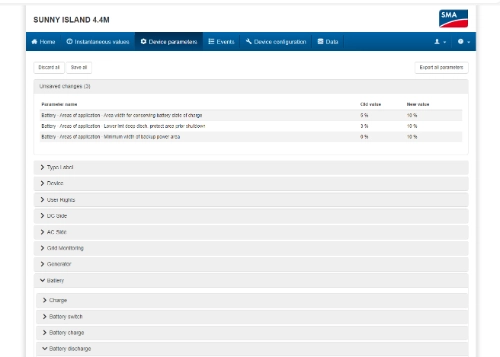
1. After the inverter and battery communicated successfully,connect to SMA WiFi. Turn on your computer and Open your browser, type in the web bar the URL: 192.168.12.3 .Then login.
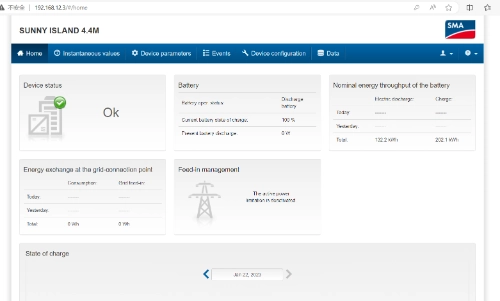
2. Click the Device parameters and click Edit parameters.
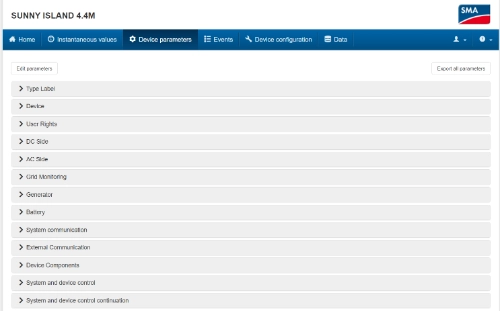
3. Click the battery,then click Areas of application.
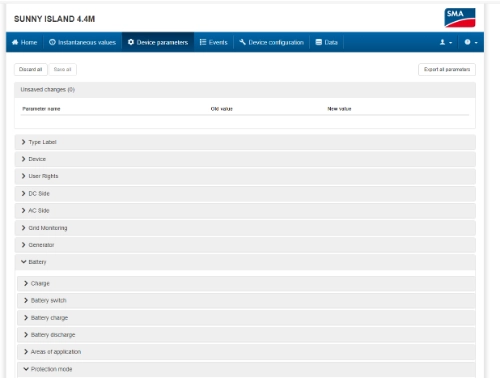
4. Set Minimum SOC to 10%.
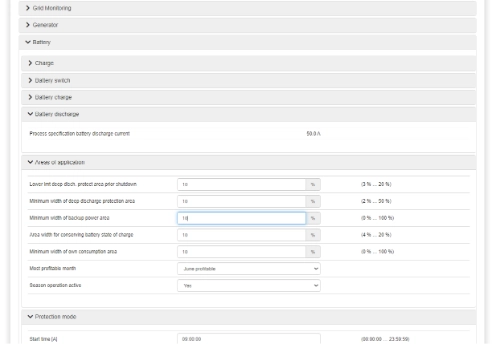
5. Save.
